Biodata analysis
- Andy Erd
Info
The SOSignAnalyzer is a Tool which can render the biometric data from the Signature pad in 2D and 3D.
Therefore the Biometric Data can be loaded from the PDF document or as data file. The tool is used to make the biometrical data visible for a graphologist.
The tool itself will not compare 2 signatures and give you a value back how equal the signatures are. This have to be done by a graphologist.
Info about biometrical Data
The Signature Pad is not only saving the 2D Image of the signature, it´s collecting each second 500 coordinates packages, which contain values for X, Y, Z (pressure) and counter which can be used to calculate the time.
The biodata string is saved by our Software in the following format:
...x1744y2017z127f827l3t3896x1815y2016z127f828l3t3899x1887y20...
x and y are the coordinates of a cartesian coordinate system having its origin in the upper left corner.
z is the pressure data (0-1024).
t=timecode, Time passed since first frame in miliseconds.
F=FrameNumber is the value from a counter in the pad which is incremented with every frame.
L=LineNumber is a counter which stays the same as long as the pen is on the pad and is incremented whenever a new line is started. At the end of the whole biodata string you will find the following:
...p85-0-196-62-25g23:2:43 2.2.2
The chars after p represents the process ID. The process ID is not the same as the pad ID, but bounded to it so that no other StepOver pad may generate the same process ID. The process ID is unique and changes with each signature. You can, for example, use it as identification for a document in your workflow. The numbers after the letter g represents the GMT timestamp of the internal clock of the Pad (Format: (H)H:(M)M:(S)S (d)d.(m)m.(y)y ). If you use a pad who is not cabable of the features process ID and or timestamp you will get zeros after p an g.
Manual
You need to download the SOSignAnalyzer and extract it to your hard drive, Now you can start the SOSignAnalyser.exe.
Loading of the Biometric Data.
The first step is to load the biometrical data, there are 2 different ways to do that.
- You can load a signed PDF Document and the nessecary private key. The tool will now get the encrypted biodata from the document and decrypt it with the private key. You can find this Option under Data/Signed PDF Content
You need to select the PDF and the private key (skf file). You might get a license popup after loading of the PDF, in that case just click on Demoversion.
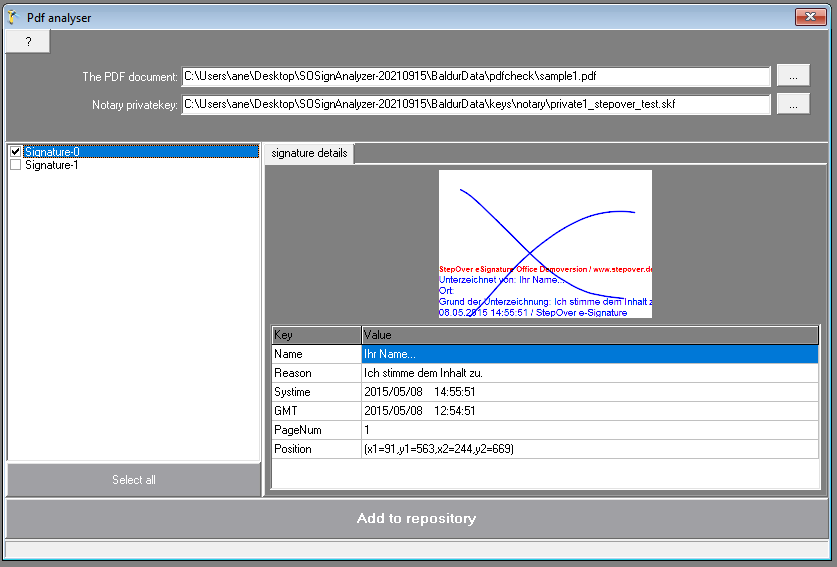
After you loaded the private key you should get a message that it was loaded, that means the key is correct and the tool was able to decrypt the biometric data.
Now you can select which of the Signaturs you want to load. The signature data will be added to a repository.
2. The secound way is to load the decrypted biometric data file, which you can export with eSignatureOffice4 (after you provided the Notarykey). Therefor click on File/Load signature (biodata) and select the file (should be a .dat filetyp). The Signature will also be added to the repository.

Note: You can add signatures from different sources to the repository, for example from 2 PDF´s or a PDF and a biometric data file...
Show the Signature in 2D
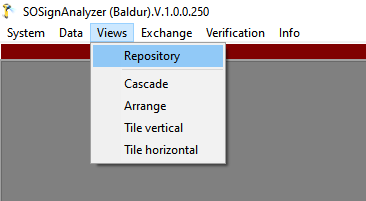
To check the loaded signatures you need to open the repository under Views / Repository.
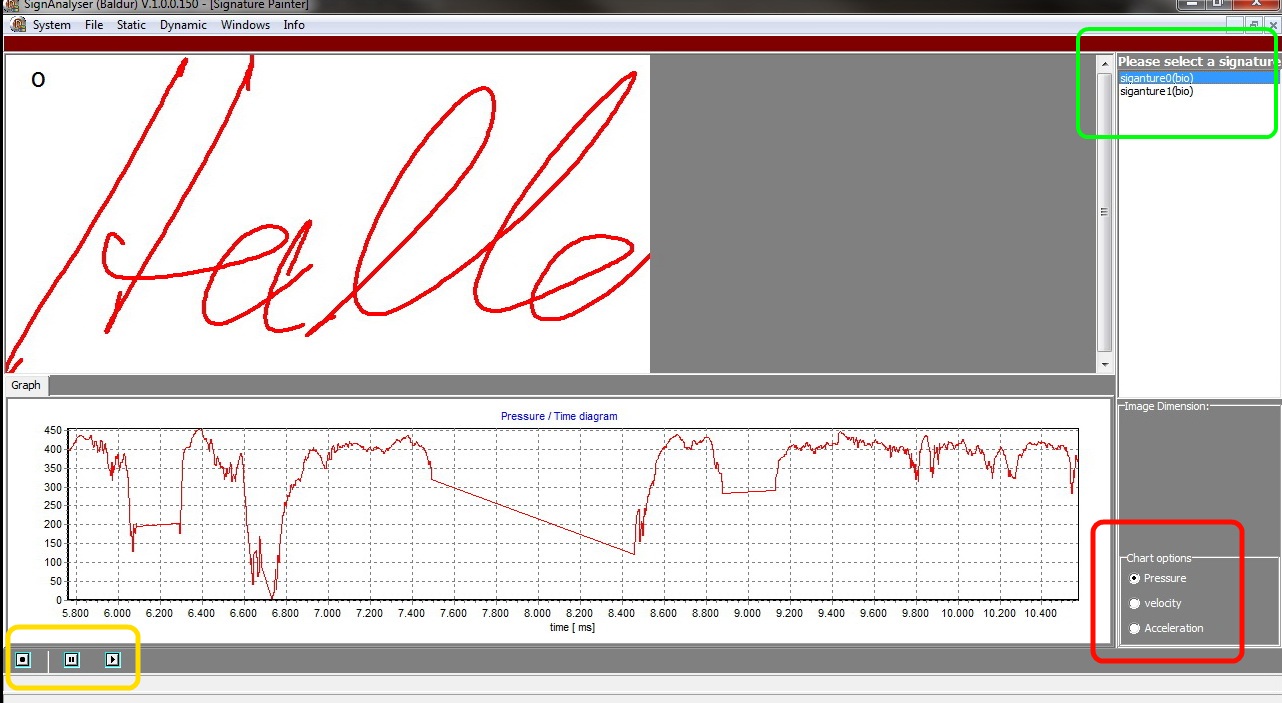
On top right you will see all the signatures of your repository, select one and you will see the signature image and as a graph at the bottom. Depending on your display size the signature image may be to small, by clicking with left or right mousebutton + moving of the mouse you can change the size of the image.
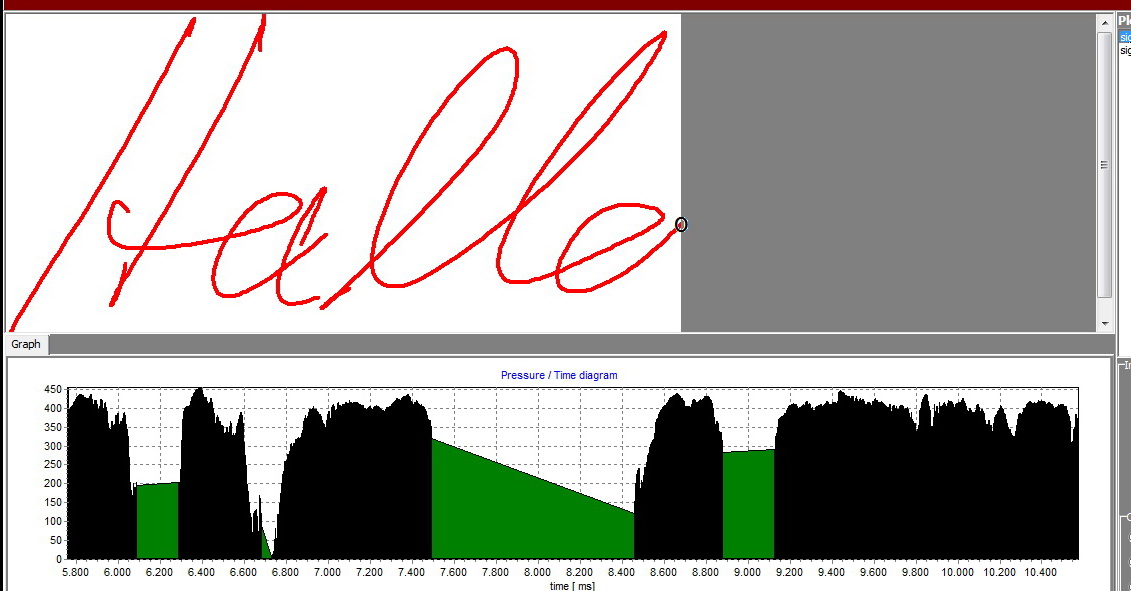
At the bottom right you can find different chart options for the signature, which are pressure, acceleration and velocity.
At the bottom left you find the animation-controls to redraw the signature.
Show the Signature in 3D
It´s also possible to show the signature in 3D, you can find this option in "Windows/3D sign viewer".
At the top right you have all the signatures of you repository like in the 2D View, select one and it will be shown in the 3D view.
Below your signature selection windows you have options to change the background and the chart options for pressure, acceleration and velocity.
By clicking with left-mouse button on the signature you can move/turn it and with the right-mouse button you can change the size.

The Colour of the signature presents the values, in the image above it the pressure.
At the bottom right is the scale, it starts with blue which is very low (zero) and goes up to red which symbolizes high pressure values.