1. Installation of eSignatureOffice
From where can I get eSignatureOffice?
The setup of eSignatureOffice can be downloaded from the StepOver website: click on "Software" and follow the link to eSignatureOffice. You will find general information about the product and the download link at the bottom of the page.
https://www.stepover.com/de/signatur-software/esignatureoffice/
System prerequisites:
| Hardware: | A minimum of: Pentium with at least 500 MHz and 256 MB RAM Recommended: Dual core Processor and 1GB RAM |
Storage capacity: | 120 MB free disk space on hard drive memory (also for temporary data) |
Monitor resolution: | A resolution of at least 1024x768 with 16 bit colour depth |
Operating system: | Windows 10, Windows 7, Windows 8, Mac OS 10.9 and 10.10 with VMware Fusion. For Linux, Thin-OS and Windows CE, please contact our consulting team. |
Setup Parameter
The setup has several start parameters to automatize the installation process. You can find them in the section eSignatureOffice Setup Parameter
The setup: step-by-step
1. The first step of the setup is to choose the language. This option can also be changed later in eSignatureOffice. |
2. The next screen will show the Welcome Page, which contains the version number of the installation. |
3. To continue the installation, you need to agree to the terms of the license agreement. |
4. On the next page you need to choose the installation folder. The default folder is "C:\Program Files\StepOver" (under 64bit: "C:\Program Files (x86)\StepOver"), followed by the product name and version number. If you want another location, you can use the "Change" button. |
5. On next page, you can select the installation type of the software. If you want to use the signature pad on the same system, you're installing eSignatureOffice to, you need to select the option "Local". If you install the software on a Remote Desktop or a Citrix Server, you need to either select the options for "Citrix" or "TCP/IP". The installation types "Citrix" and "TCP/IP" will require additional software on the client system. Select the option you need. |
6. You can choose, if you want to have a desktop icon, which can be used to start eSignatureOffice. |
7. The next page shows a summary of the installation folder and the start menu entry. |
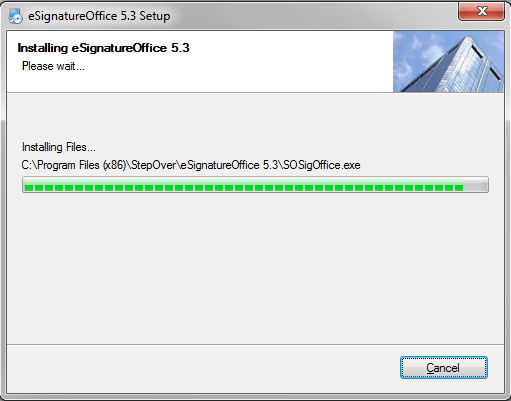
8. The setup is installing the software, which will take a moment. |
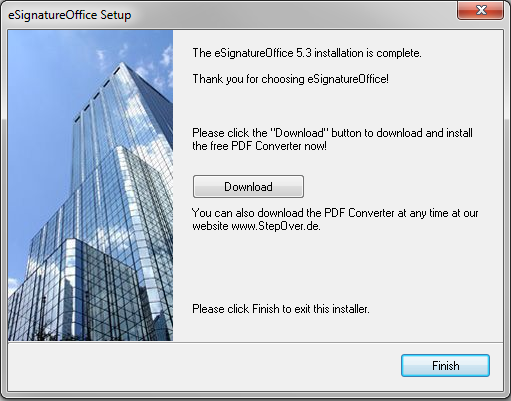
9. After the installation of eSignatureOffice, you can choose, if you also want to install the StepOver PDF Converter. You will need an internet connection for this installation, because the PDF Converter will be downloaded. You can also download this PDF Converter later from the StepOver Website. More information about its setup and the usage can be found in the chapter The StepOver PDF Converter: Setup und utilisation |
| 10. eSignatureOffice is now installed, you can close the setup with the "Finish" button. |
Setup as TCP server/client system
If you are not planning to use eSignatureOffice locally on the same computer, to which the signature device is attached to, you can also create a server/client system. This can be especially useful when the distance between the used computer and the place, where will be signed is too far for a direct USB connection of if several persons are supposed to use the same signature device.
You can find an extended instruction on how to setup and use this special connection variant here.

